A full-color 3D printing consists of a gypsum material that is filled with an Infiltrate (similar to Superglue) after printing.
This second step of processing, special design guidelines are valid for full-color parts.
As a rule of thumb can man say:
Would your component from wet sand be produced?
Because the component is very unstable before the Infiltration.
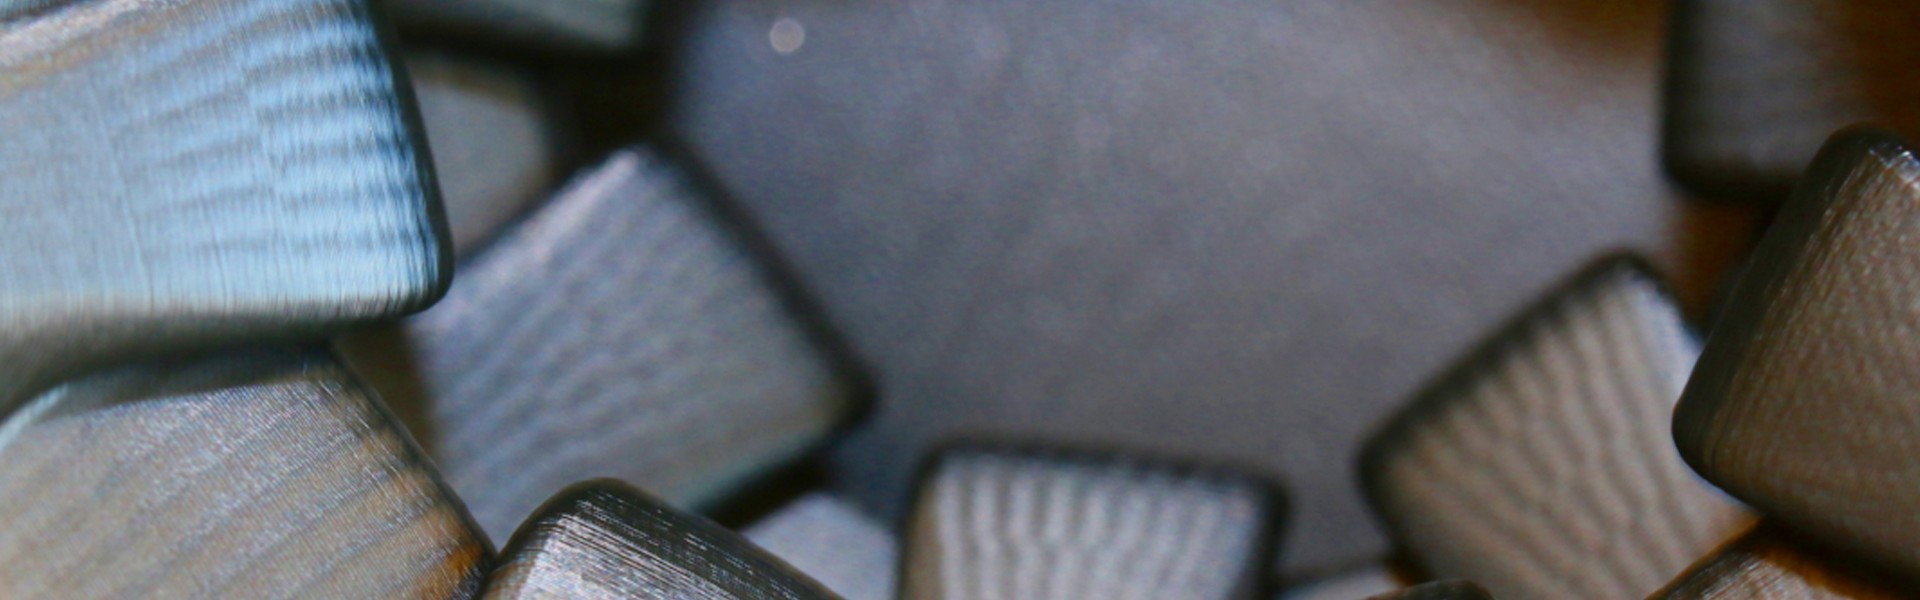
The big advantage of this material is, of course, the pressure in 18 million colors.
Thus, labels and surface textures can be applied to your model.
Advantages
disadvantages


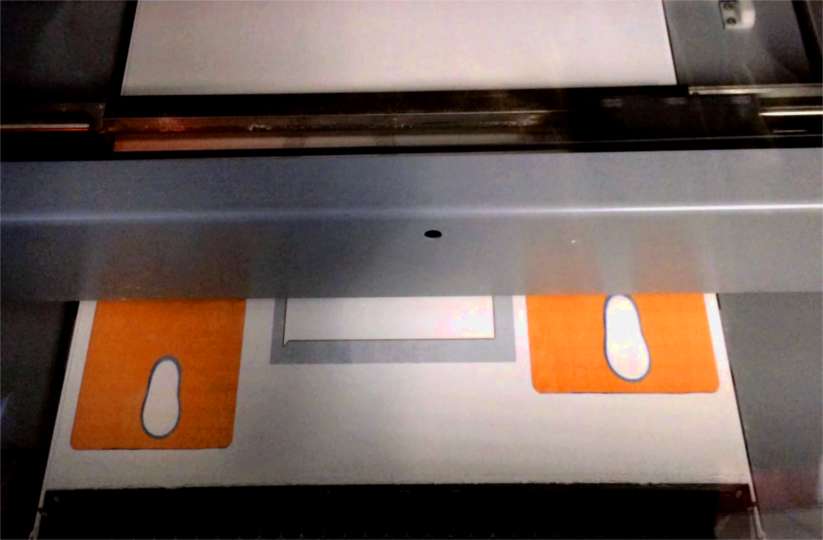
Full-color 3D prints are very often used for visualizations.
With this procedure you can deliver its customers a preview of the finished product with all colours and labels.
It is mostly used in architecture and interior design.
The application as a 3D Selfie is also very popular.
Full-color parts produced in the so-called Z-print or new color Jet procedure.
the utmost extent of the layers of the component by an ink-jet print head with the required color.
The color ranges from about 1 mm deep and consists of normal printer ink as it is well known from the home printers.
Z-print is also the only technology that can create full-color models..
Here, the printer can operate from a color palette of approximately 18 million colors.
The procedure:
The model is broken down into layers of 0.1 0.2 mm.
Now, a layer of plaster powder equal layer is applied on the printing bed.
A print head, which is filled with binders, injects it now where the part is to be created.
The binder with color is mixed in the outermost region of the model (outer wall).
This process is repeated to the printer until the part is complete, and the powder-filled bed.
The loose powder serves as a support structure for the overhanging portions.
After printing, the component is carefully removed from the printing bed and cleaned.
At this point in the process, the part is still very fragile.
After excess powder is removed, the part with a kind of adhesive is poured over,
this penetrates into the device and then hardens. So he keep a robust model in color at the end.
Shipping within
8 Design specifications
Minimum wall thickness
2 mm - 3 mm
Smallest Detail
0.3 mm
Maximum dimension
380 x 250 x 200 mm
When ordering before 12 am We will ship within 3 Design specifications. »
Price
30 % extra charge
Available colors:
Full color 18 million colors
Ground models in Full collor have no high-gloss finish. You have a slightly rough but very smooth surface.
All parts are sanded by hand and then sandblasted. For this reason, it may be that your part is subsequently rejected if it is not to edit by hand.
What is to be observed on polished models:
Of course, you can also paint models from full-color 3D.
It uses only a clear coat to make the component smooth.
| Unit | Value | ||
|---|---|---|---|
| Tensile strength | MPa | n/a | |
| Elongation at break | % | n/a | |
| Hardness | HR | n/a | |
| Thermal resistance | °C | n/a | |
| Impact resistance | kJ/m² | n/a | |
| Density | g/cm³ | n/a | |
| Water absorption | % | n/a | |
| Chemical resistance | n/a | ||
| Weather | n/a | ||